Before Jimmy Carter became our 39th President in 1977 and before he was elected as the Governor of Georgia in 1970, he was a peanut farmer from Plains, Georgia.
As one can imagine, the Carter family has a love for all things related to peanuts. Rosalynn Carter was known for her delicious Peanut Butter Pie and made it quite often for her family and social gatherings. So today in the kitchen, I decided to make this delicious concoction topped with homemade meringue. It tastes like peanut butter fudge poured into a pie crust – oh my!
Rosalynn Carter’s Peanut Butter Pie


You will also need one 9” baked pie crust
Directions
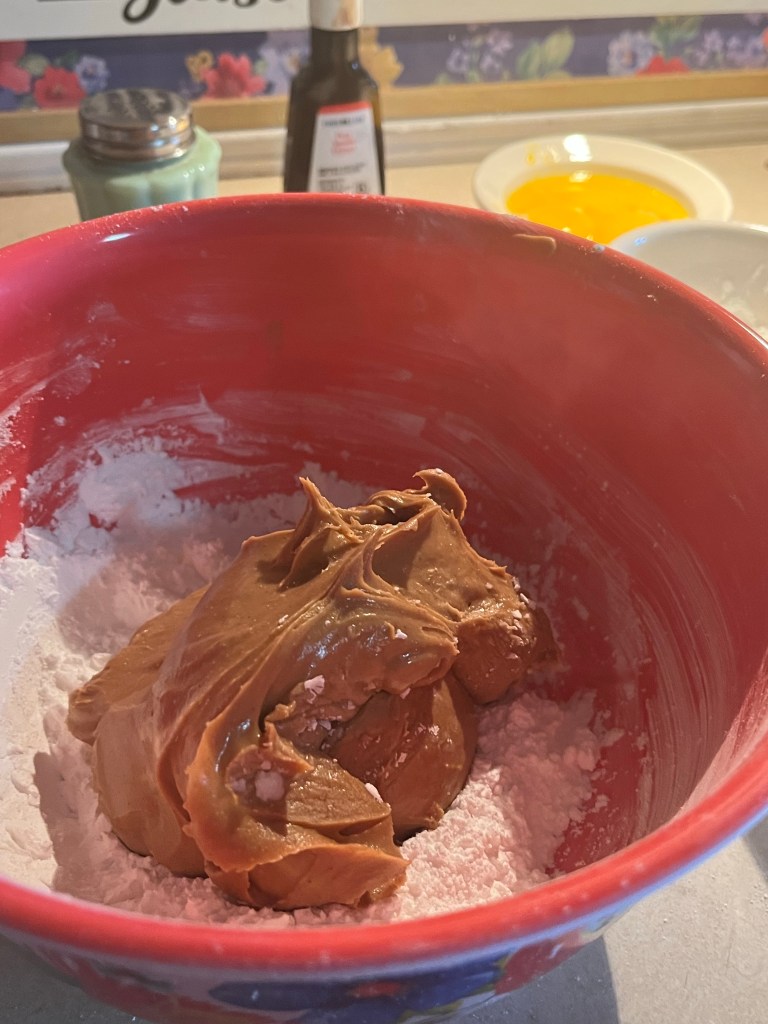
Preheat oven to 400 degrees. In a medium bowl, mix the confectioner’s sugar peanut butter until well combined. Set aside.
In a three quart saucepan over low heat, whisk together the sugar, cornstarch, milk, eggs yolks and salt until well combined. Cook, stirring constantly, until mixture bubbles and thickens, about 10 minutes (this will vary, based on exact amount of heat, thickness of pan, etc.). When thickened, remove from heat, and stir in vanilla and butter until butter is completely melted. Set aside to cool slightly while you prepare the meringue.
While filling is cooling, place the egg whites in a medium size bowl and beat on medium speed until the whites begin to foam. While beating, add cream of tartar and pinch of salt. Beat on high until whites become glossy and soft peaks begin to form.
While mixer is running, slowly pour in sugar, 1 tablespoon at a time, then add vanilla. Continue to beat until stiff peaks form. Set meringue aside.
Stir peanut butter into cooked filling mixture until completely combined. Pour mixture into baked pie shell. Spread meringue onto pie filling, mounding slightly in the middle, and completely sealing meringue edges to crust. Bake for about 10 minutes, or until meringue is lightly browned.
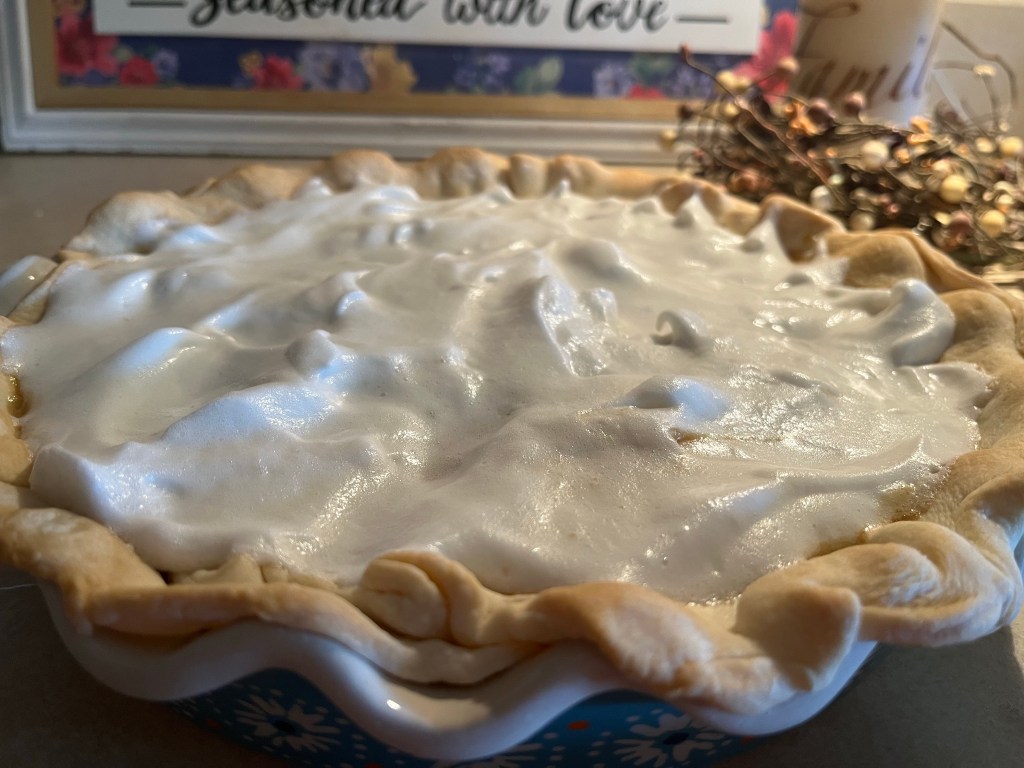
Let pie set on a wire rack until completely cooled before slicing, at least 2 hours.

Here’s the recipe that I used from Yesterfood
