Today in American history…our 35th U.S. President, John F. Kennedy, was born on May 29, 1917 in Brookline, Massachusetts.
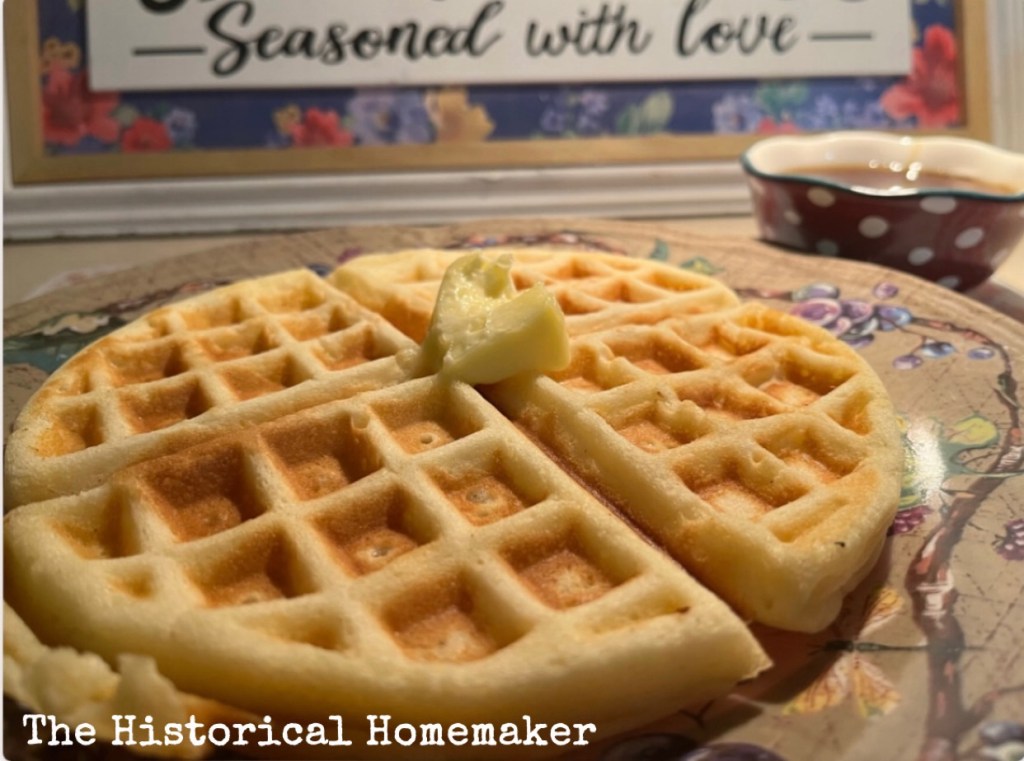
To celebrate and remember President Kennedy today, I made waffles this morning using his personal family recipe. The waffles were so delicious, light and airy. I believe this to be our family’s “go-to” waffle recipe from now on.
During his time as a Senator and into his Presidency, letters were often written to President and Mrs. Kennedy inquiring about their favorite personal recipes. They both replied with the same response which was a recipe for waffles.
President Kennedy childhood photo circa 1918 (Getty Images)
President Kennedy was a man of light and simple tastes when it came to cuisine.
The John F. Kennedy Presidential Library and Museum doesn’t specifically name President Kennedy’s favorite dishes but instead, they have a list of foods he was known to enjoy.
For an example, breakfast was often a poached egg, crispy bacon and a glass of orange juice. Lunch was most likely a sandwich, bowl of soup (New England Clam Chowder was his favorite) and fruit. For dinner, he most likely enjoyed lamb chops, baked beans, corn muffins, and white meat turkey.
A copy of PresidentKennedy’s favorite waffle recipe from The National Archives
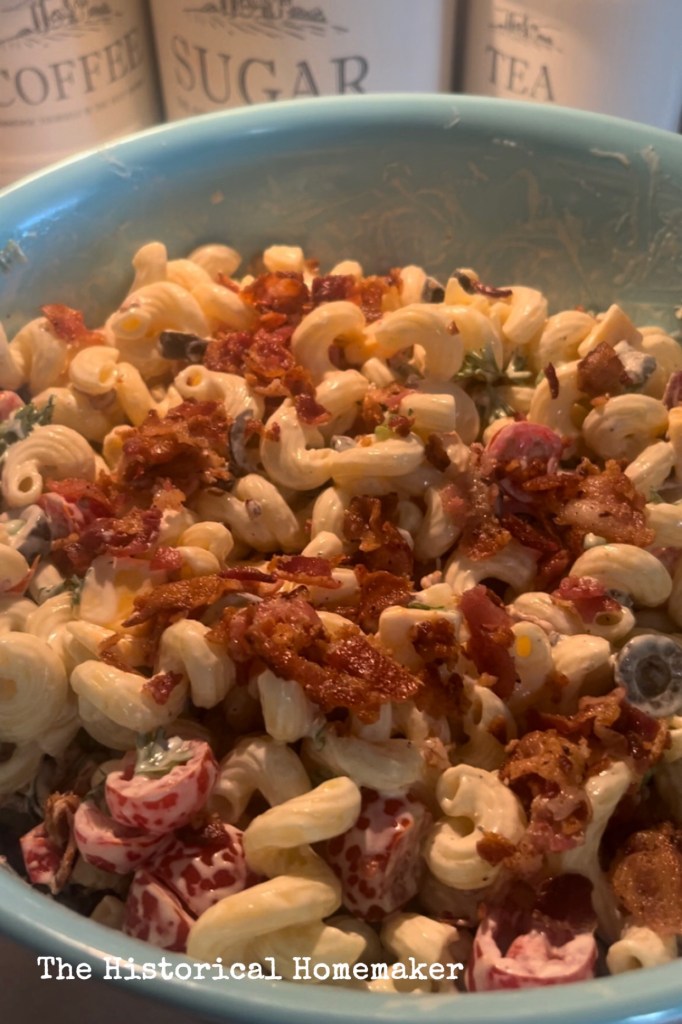
Pasta Salad is the perfect dish to bring to a Summer barbecue or cookout. What’s even better? A Bacon Ranch Pasta Salad! It has all of my personal favorite ingredients (I can’t ever get enough bacon!) and the sweetness of the homemade ranch dressing is so tantalizing and delicious.
Bacon Ranch Pasta Salad
Ingredients
1 (12-oz.) package bacon
1 lb. cavatappi pasta (or your personal favorite for making pasta salad)
1/2 cup mayonnaise
1/2 cup sour cream
1/2 cup buttermilk
1/4 cup parsley, chopped
1/4 cup fresh dill, chopped
1 1/2 Tbsp lemon juice
1 tsp. salt and pepper for seasoning
1 pint grape tomatoes, halved
6 oz. sharp or regular cheddar cheese, cut into 1/2 inch cubes (I used Monterey Jack)
1 cup frozen peas, thawed at room temperature
1 (3.8-oz.) can sliced black olives, drained
4 green onions, thinly sliced
Directions
Prepare your pasta according to package directions, drain and rinse with cold water. Set aside.
In a large skillet, cook the bacon until the bacon is golden and crispy. Drain the bacon on a paper toweled lined plate to drain the excess grease. Let the bacon cool to room temperature and crumble up into bite-sized pieces.
In a large bowl, combine the mayonnaise, sour cream, buttermilk, parsley, dill, lemon juice, salt and pepper.
Add the pasta, tomatoes, cheese, peas, black olives, green onions and half of the crumbled bacon.
Mix well until well combined.
Add more salt and pepper for extra seasoning.
Top the salad with the remaining crumbled bacon and refrigerate until it’s time to serve. Enjoy!
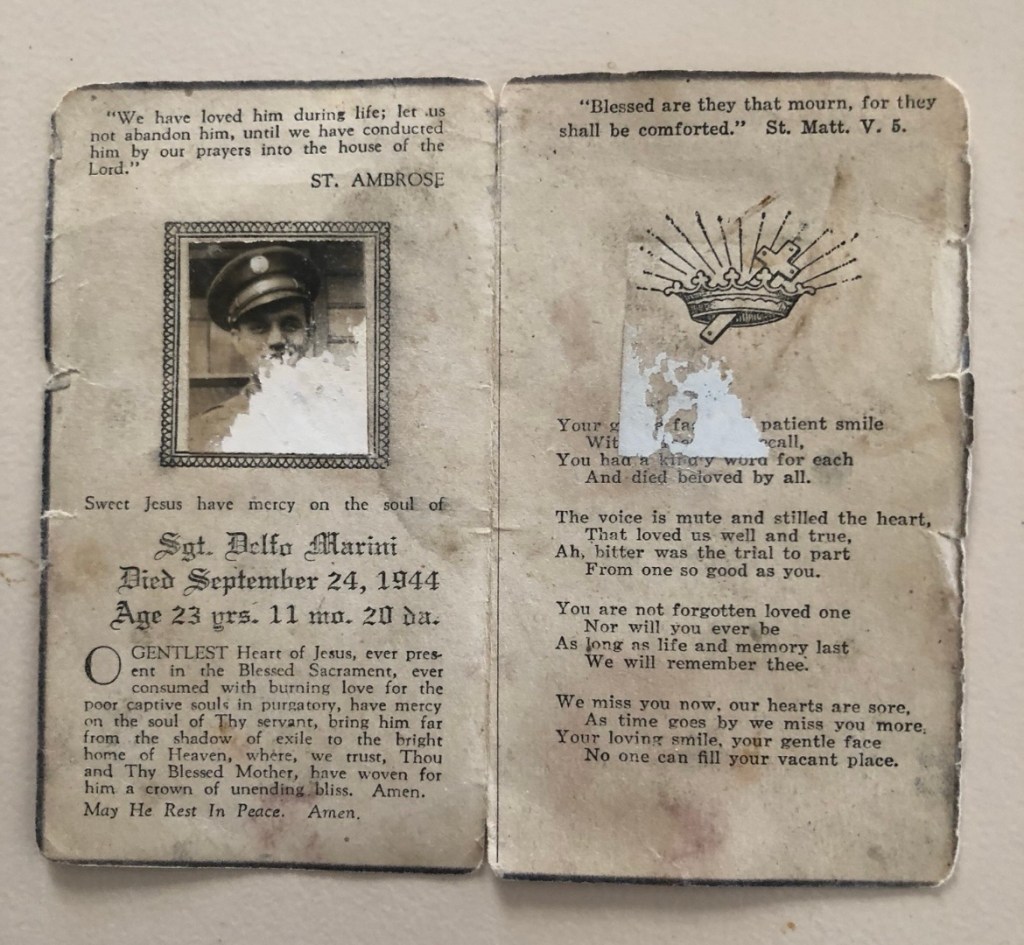
My mother used to carry a prayer card with a faded picture in her prayer book for years. As a child, I remember being at Mass every Sunday with my mother and flipping through her book and always coming across the same prayer card with the faded picture.
One day my mother shared the story with me. This was her Uncle (my great-Uncle). His name was Delfo Marini.
He was young, handsome and newly married with a newborn baby when he signed up to defend our country. Many men (including his brother, my grandfather) were sent overseas to fight in this Great War.
My mother was a small child and remembered vividly, even decades later, the day her grandmother received visitors at the door to inform her that her son was deceased. Killed in action. My mother remembered the screams and tears of her grandmother and the tears of family members gathering at the house.
Today is the day to honor all of those who made the ultimate sacrifice for the defense of our beloved country – including my Uncle Delfo.
“Greater love has no one than this: to lay down one’s life for one’s friends.” (John 15:13)
Today in American history…Dolley Madison was born on May 20, 1768 in New Garden, North Carolina (present day Greensboro, North Carolina).
She married James Madison on September 15, 1794.
She was First Lady from March 4, 1809 to March 4, 1817.
She was a very popular First Lady and hostess and was known for her social graces and hospitality which helped contribute to her husband’s popularity while he was President.
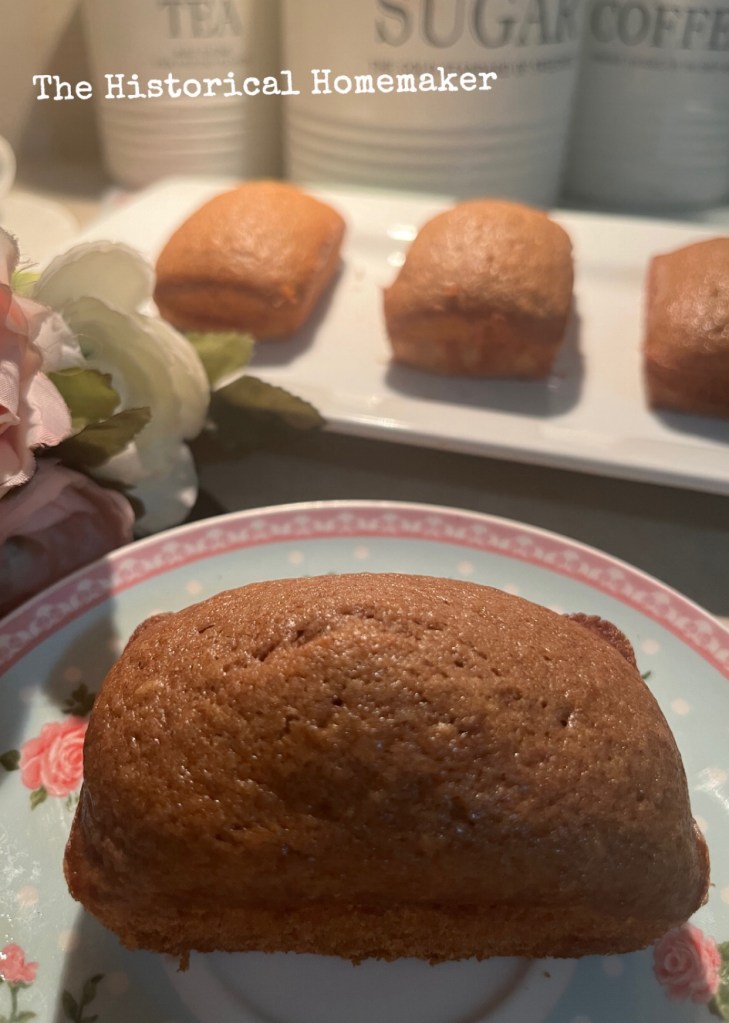
Known for her love of entertaining and afternoon tea, one of the items at her famous tea parties were her Woodbury Cinnamon Tea Cakes.
Woodbury Cinnamon Tea Cakes
Ingredients
1 large egg, separated
Pinch of salt
1 cup granulated sugar
1 cup milk
1 tsp vanilla extract
1 cup of flour
2 TBSP melted butter
1 tsp baking powder
1 TBSP ground cinnamon
Directions
Preheat the oven to 350 degrees and grease either a bundt pan or mini bundt pan (I used mini loaf pans). You can also use a square baking pan.
Butter and then flour the pan so the cake will easily come out of the forms after bak-ing.
Beat the egg white with a pinch of salt until still soft peaks form. Gradually add the sugar and continue beating until stiff peaks form.
In a separate bowl, whisk together the milk, egg yolk, and vanilla; slowly fold it into the egg whites.
Fold in the flour, melted butter, baking powder, and cinnamon until just combined.
Pour mixture into prepared baking pan or mini pans.
Bake for 20-25 minutes or until a toothpick inserted in the middle comes out clean.
Invert the cake onto a metal rack for cooling.
Immediately, while the cake is still warm from the oven, brush on the additional 2 tablespoons melted butter. Then sprinkle the cinnamon-sugar mixture over the cake.
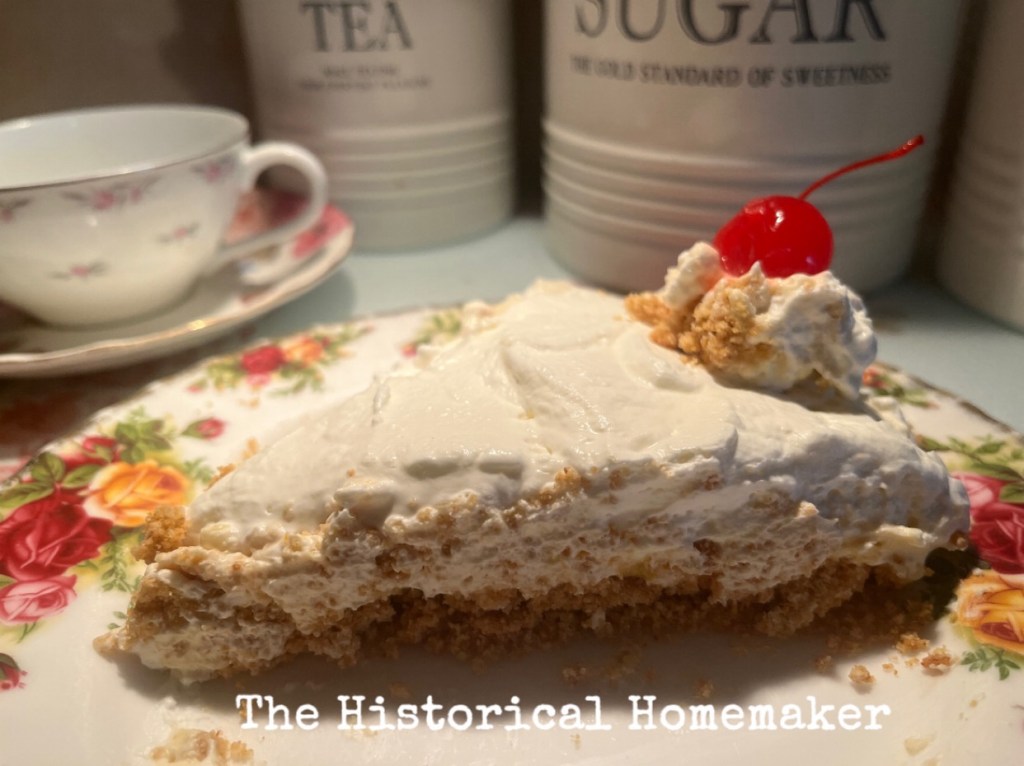
A Root Beer Float reminds me of childhood Summer days – it’s almost like a comfort feeling of nostalgia whenever I enjoy one. It’s even better as a pie (if that’s even possible!) with a taste of graham cracker crust with each bite.
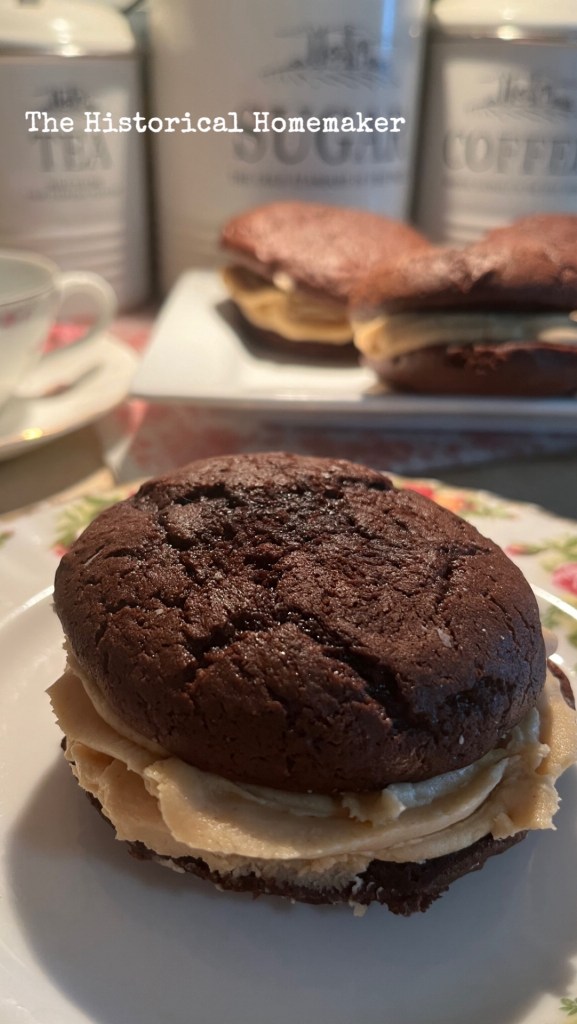
My husband, Marlin, loves Gobs. He has been asking me to make them so I decided to whip up a batch in the kitchen today.
While Marlin calls them Gobs…I call them Whoppie Pies. While researching about this history of Gobs/Whoppie Pies I found it interesting that only in western Pennsylvania, mainly the Johnstown area, they are known as “gobs.” The now closed Harris & Boyar Bakery in Morrellville, PA, claimed to have invented the gob sometime in the 1920s.
The original recipe for whoopie pies does however have its own origins with the Amish. In Lancaster county, Pennsylvania, it is not an uncommon thing to find roadside farm stands offering these delicious desserts.
The first commercially sold whoopie pies were from the Labadie’s Bakery in Lewiston, Maine. Labadie’s Bakery first started selling Whoopie Pies in 1925.
While some recipes use marshmallow cream for the filling – I have my own personal preference and use my own recipe for buttercream frosting instead for the filling.
Marlin loves Chocolate Gobs with peanut butter filling – he’s a total chocolate and peanut butter loving guy 🤣
Anyway you call them…Gobs…Whoopie Pies…they remain delicious treat that warms your heart.
Whoppie Pies (Gobs)
Ingredients
1 box chocolate cake mix
One small box (3.4 oz) instant chocolate pudding mix
2/3 cup water
1/2 cup vegetable oil
3 eggs
Buttercream Filling
1 cup (2 sticks) unsalted butter, softened to room temperature
5 cups confectioners sugar
1/4 cup heavy cream, half-and-half, or whole milk, at room temperature
2 teaspoons vanilla extract
Optional: I added 1/2 cup creamy peanut butter to make a peanut butter buttercream filling
Directions for the Whoopie Pies (Gobs)
Pre-heat your oven to 350 degrees. Line the baking sheets with parchment paper or silicone baking mats.
In a large bowl add the cake mix, pudding mix, water, oil and eggs.
Use a hand held mixer to mix to combine the ingredients. Beat for at least 2 minutes.
Scoop the batter onto the prepared baking sheet and make sure to put at least 2 inches between each cookie. I used a 2 teaspoon cookie scoop which I found to be easier to work with.
Bake for 10-13 minutes and remove from the oven.
Let cool completely before adding the filling.
Directions for the Filling
In a large mixing bowl, add the confectioners sugar, softened butter, heavy cream (or half and half or milk) and the vanilla extract. Use a hand held mixer to mix until it’s the perfect consistency.
Optional: Add the peanut butter and stir into the filling.
Assembly Directions
I used a frosting piping bag to pipe in the filling onto the bottom layer. You can, however, just spoon the filling in too!
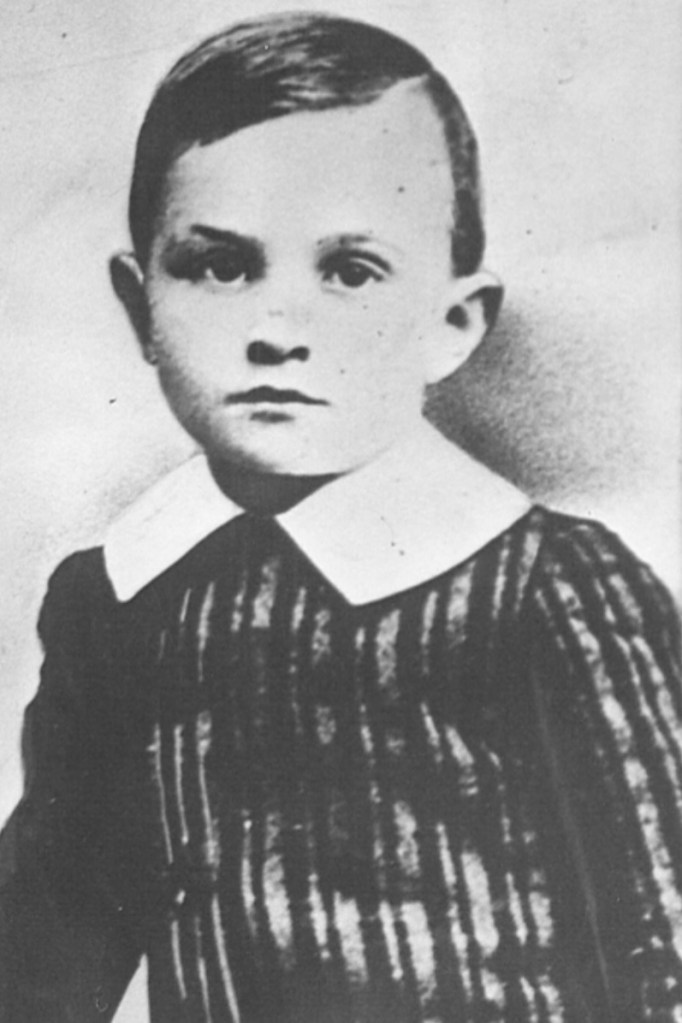
Today in American history…our 33rd U.S. President, Harry Truman, was born on May 8, 1884 in Lamar, Missouri.
Childhood photo of Harry Truman
In the archives of the Harry S. Truman Library is a food questionnaire that President Truman once responded to.
“I like well-done steaks…Mrs. Truman’s chocolate cake, and chicken and dumplings. [My] mother’s custard pie and fried chicken.” When asked how he preferred fried chicken, he wrote, “Ask mamma – she’ll know how. Haven’t seen many who do.”
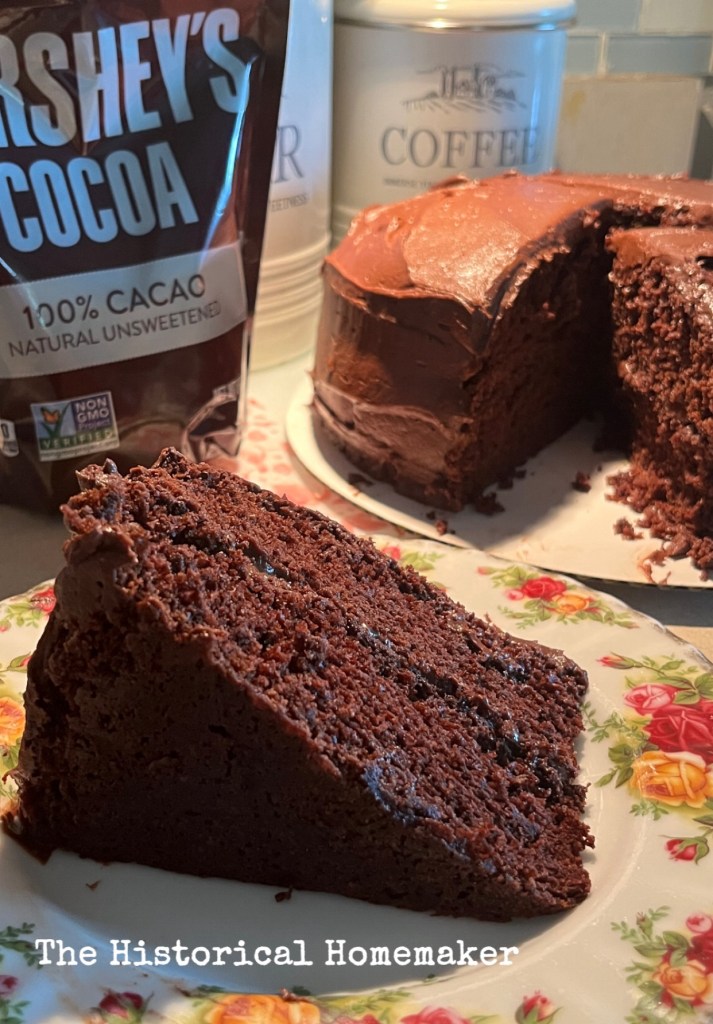
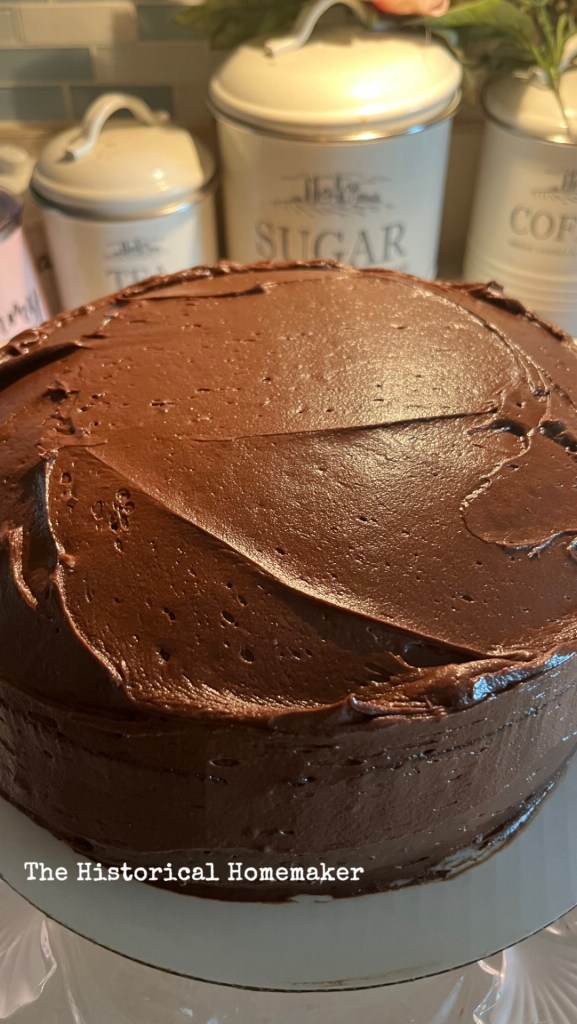
In honor of President Truman’s birthday – I made a homemade chocolate cake.
Since I could not find a recipe for Mrs. Truman’s chocolate cake, I made a chocolate cake that he surely would have approved of. Nothing is better than a homemade Hershey’s Chocolate Cake with Hershey’s Chocolate Frosting 😋
Hershey’s “Perfectly Chocolate” Chocolate Cake
Ingredients
2 cups sugar
1 – 3/4 cups all-purpose flour
3/4 cup Hershey’s Cocoa
1 – 1/2 teaspoon of baking powder
1 – 1/2 teaspoon of baking soda
1 teaspoon of salt
2 eggs
1 cup milk
1/2 cup vegetable oil
2 teaspoons of vanilla extract
1 cupboiling water
Directions
Heat oven to 350°F. Grease and flour two 9-inch round baking pans.
Stir together sugar, flour, cocoa, baking powder, baking soda and salt in large bowl. Add eggs, milk, oil and vanilla; beat on medium speed of mixer 2 minutes. Stir in boiling water (batter will be thin). Pour batter into prepared pans.
Bake 30 to 35 minutes or until wooden pick inserted in center comes out clean. Cool 10 minutes; remove from pans to wire racks. Cool completely. Frost with “Perfectly Chocolate” Chocolate Frosting.
“Perfectly Chocolate” Chocolate Frosting
Ingredients
1/2 cup butter or margarine(1 stick)
2/3 cup Hershey’s Cocoa
3 cups powdered sugar
1/3 cup milk
1 tsp vanilla extract
Directions
Melt butter. Stir in cocoa. Alternately, add powdered sugar and milk, beating to spreading consistency.
Add small amount additional milk, if needed. Stir in vanilla.
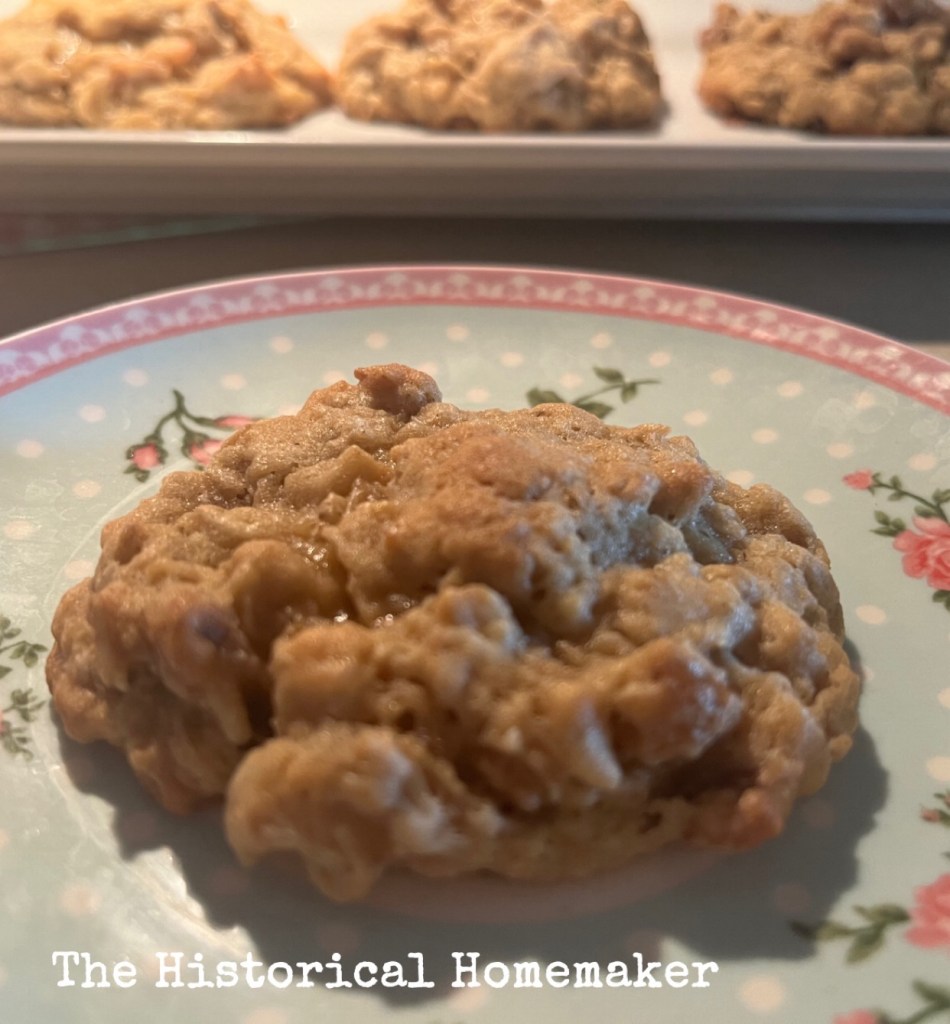
It’s National Oatmeal Cookie Day! What a great way to celebrate by making homemade delicious oatmeal cookies. What’s ever better? Fresh from the oven when they are warm…oh my!
Homemade Oatmeal Cookies
Ingredients
1 cup unsalted butter, softened
1 cup light brown sugar firmly packed
1/2 cup granulated sugar
2 large eggs
1 1/2 teaspoon vanilla extract
1 3/4 cups all-purpose flour
2 teaspoons cornstarch
1 teaspoon baking soda
3/4 teaspoon salt
3/4 teaspooon ground cinnamon
3 cups old-fashioned rolled oats
Optional: 1 1/2 cups of chocolate chips, chopped nuts or raisins (I added walnuts – hubby’s favorite!)
Directions
Preheat oven to 375 degrees and prepare cookie sheets by lining with parchment paper.
Beat butter in the bowl of a stand mixer (or using an hand held mixer) for about 30 seconds until butter is a light yellow.
Add sugars and beat until light and fluffy.
Add the eggs, one at a time and beat until combined.
Stir in the vanilla extract.
In a separate bowl, whisk together flour, cornstarch, baking soda, salt, and cinnamon.
Gradually add the flour mixture to butter mixture until completely combined.
Gradually stir in the oats until completely combined. If using raisins or chocolate chips, stir them in at this point.
Drop cookie dough by rounded 2 Tablespoon-sized balls onto the parchment paper lined baking sheet.
Space the cookie dough balls at least 2″ apart.
Bake for 10-12 minutes until the edges are lightly browned.
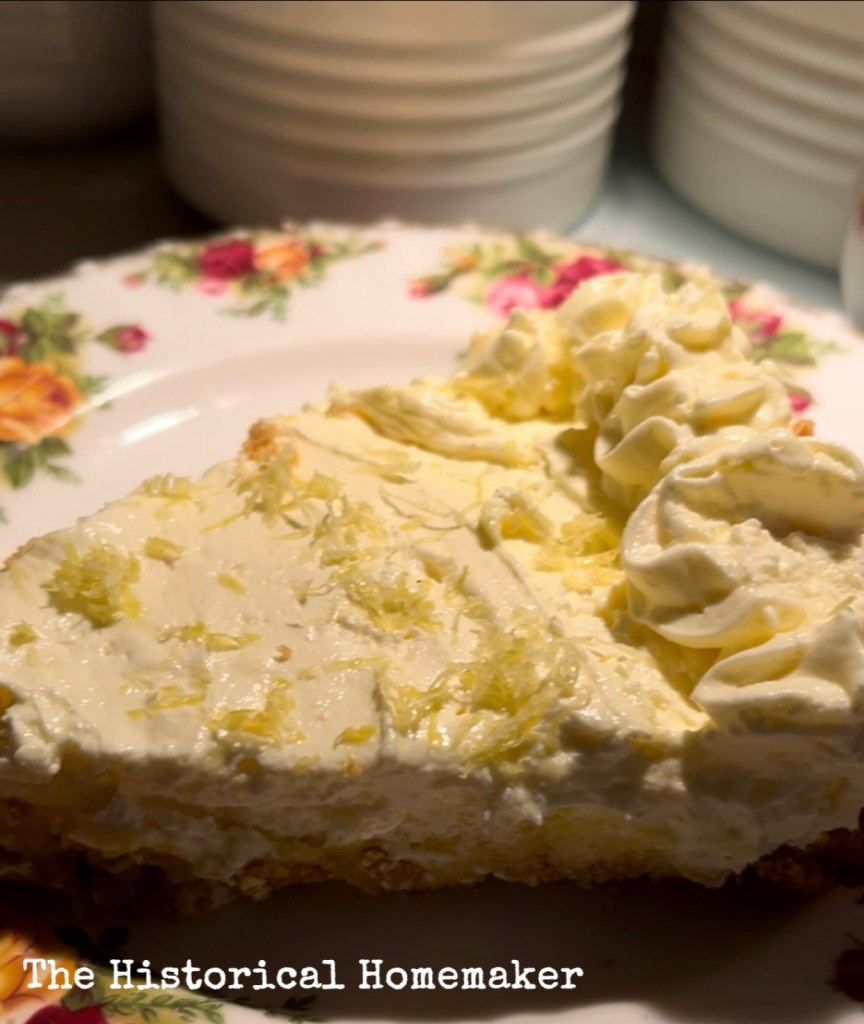
The temperatures are starting to rise and it’s beginning to feel like Summer. Lemon Cheesecake Pie is the perfect dessert on a hot day. It’s nice and cold and lemon desserts are always incredibly refreshing.
Lemon Cheesecake Pie
Ingredients
1 ready-to-use Nilla Wafer or Graham Cracker crust (I made my own graham cracker crust – was feeling energetic today!)
2 boxes (3.4 oz each) lemon instant pudding mix
2 cups half & half creamer
1 bar (8 oz) cream cheese, softened
1/3 cup granulated sugar
1 tub (8 oz) Cool Whip
Optional: fresh lemon slices and/or lemon zest for garnishment
Directions
In a medium mixing bowl, add the dry pudding mix and half & half creamer.
Whisk together for about 1-2 minutes until thoroughly combined.
Let the pudding mixture sit for a few minutes which will allow the pudding to thicken.
Once the pudding mixture is thickened, spread 1 1/2 cups of the pudding mixture into the pie crust.
Set aside the remaining pudding mixture for later use.
In a separate medium mixing bowl, use a handheld mixer to beat together the softened cream cheese and sugar until creamy and combined.
Use a spatula to fold the Cool Whip into the cream cheese/sugar mixture until combined.
Add half of the Cool Whip mixture into the remaining pudding mix that was set aside.
Spread onto the pie crust to form the second layer.
Spread the remaining Cool Whip/cream cheese mixture onto the top of the pie or you can use a piping tip and bag to pipe the Cool Whip mixture around the edges of the pie for decorating.
Optional: Add small slices of lemon wedges onto the piped Cool Whip mixture or sprinkle fresh lemon zest to the top of the pie.
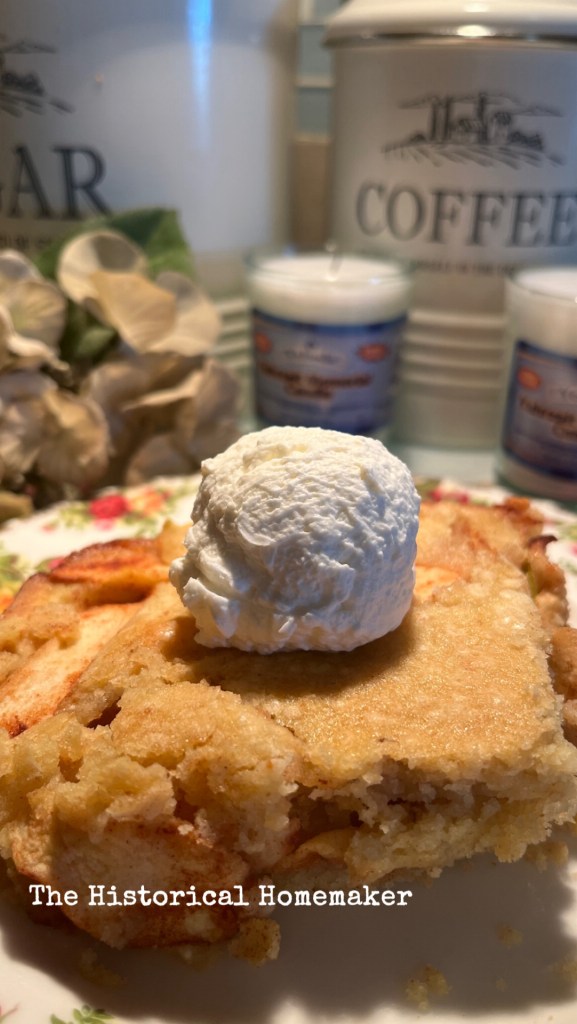
Today in the kitchen I made a delicious Apple Cake in honor of Passover week. The cake was made with Matzo Meal instead of using traditional flour and I topped it off with my homemade whipped cream.
There is nothing in the world like an apple cake baked fresh from the oven topped with homemade whipped cream 😋
Apple Cake for Passover
Ingredients
2-1/4 cups matzo cake meal, divided ***
4 large apples, peeled and sliced (I used Granny Smith apples)
2-1/4 cups sugar, divided
6 eggs
2 teaspoons ground cinnamon
1 cup vegetable oil
1/4 cup water
1 tablespoon potato starch (I used cornstarch in the place of potato starch)
Whipped cream, optional (see recipe below for homemade whipped cream)
***if you cannot find matzo cake meal, use regular meal and use a food processor to grind the meal into flour.
Directions
Preheat oven to 350 degrees. Grease a 13×9-inch baking dish and sprinkle with 1/4 cup matzo cake meal. Set the dish aside until it’s time to add your cake batter.
In a large bowl, combine the sliced apples, 1/4 cup sugar and cinnamon; set aside.
In another large bowl, beat the eggs until slightly thickened. Gradually add the remaining sugar and beat until thickened and has a lemon color.
Beat in the vegetable oil and water.
Combine the potato starch and the remaining matzo meal; add to the egg mixture and mix all of the ingredients really well.
Pour half of the batter into your prepared baking dish. Top with the slices apples and remaining batter.
Bake for 40-45 minutes until the center of the cake is completely done.
Cool on a wire rack.
If desired, top with whipped cream.
Homemade Whipped Cream
Ingredients
1 cup heavy whipping cream
2 Tablespoons confectioners’ sugar or granulated sugar
1/2 teaspoon pure vanilla extract
Directions
Using a handheld or stand alone mixer, whip the heavy whipping cream, sugar, and vanilla extract on medium-high speed until medium peaks form (about 3–4 minutes).
Use immediately or cover tightly and chill in the refrigerator for up to 24 hours.



 The Historical Homemaker