Today in American History…James Garfield married Lucretia Randolph were married on November 11, 1858 at the home of her family in Hiram, Ohio.
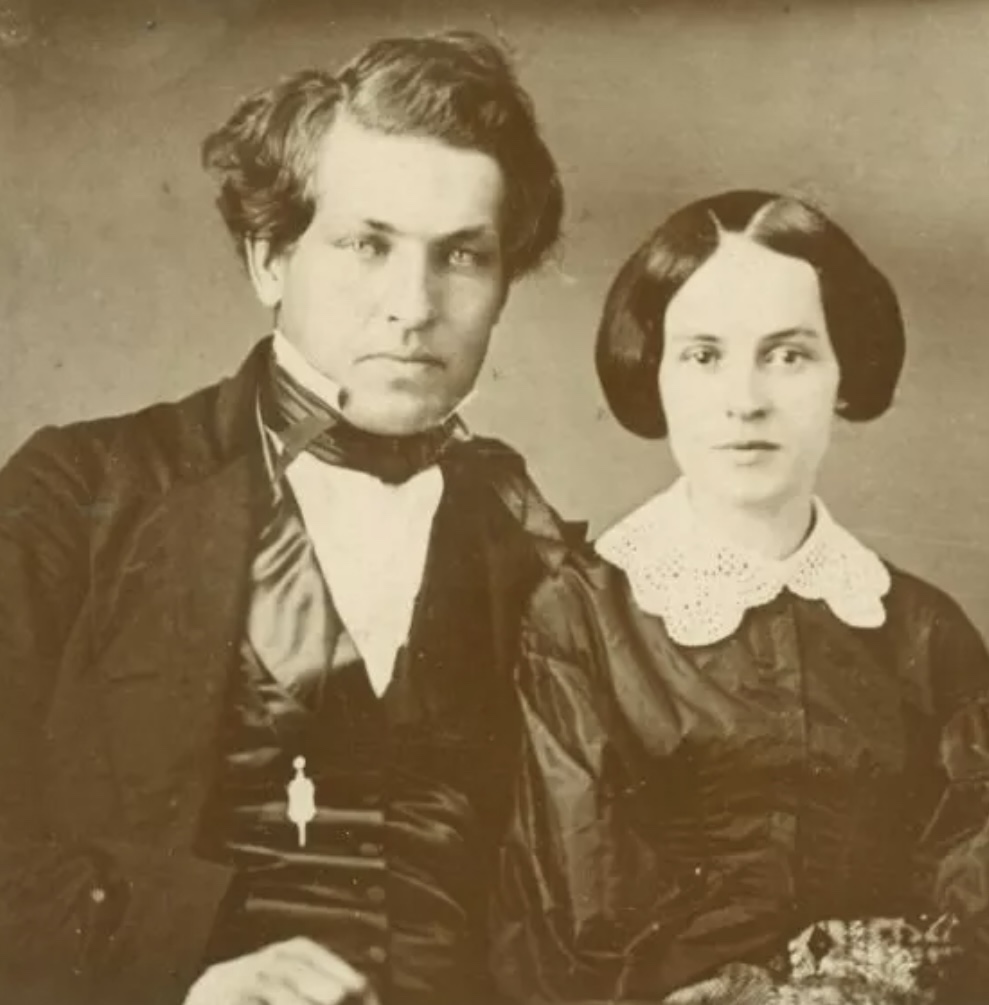
It wasn’t an easy marriage for both at first. They had different temperaments and were from different backgrounds – he was outgoing, social and friendly. She was more reserved and studious. The marriage was one that they felt was the “right thing to do” and they went forward with it even though both had their misgivings about the impending marriage.
During the first five years, he spent a lot of time away from home and it has been written that they only spent twenty weeks together during those years.
She was an avid diary writer and during one of his visits home, she shared her writings with him on how much she loved him and wanted to be a good wife, mother and longed for his affections. It was after this that they decided to do whatever it took to make amends in their marriage and everything turned around for them in a positive and loving way.
She often referred to the beginning of their marriage as the “dark years” but they would go on to have a successful and loving marriage for the rest of their years together until his tragic death on September 19, 1881 due to the injuries from the assassination attempt on his life on July 2, 1881.
In a letter written to Lucretia in December 1867, he wrote:
“We no longer love because we ought to, but because we do. Were I free to choose out of all the world the sharer of my heart and home and life, I would fly to you and ask you to be mine as vou are.”
In a letter written to James in September 1870, she wrote to her husband:
“…I stopped amazed to find myself sitting by our fireside, the loved and loving wife, lifted up from the confusions and out from the entanglements… felt that we are not living on the same plain [sic] as heretofore, that we are scarcely the same beings, but like conquering sovereigns we live in high isolation, wedded in heart and soul and life.”