Category Archives: Uncategorized

Stuffed “Pumpkin” Peppers

It’s starting to feel a little like Halloween 🎃 The cooler weather is now upon us after a very hot Summer (and we finally got rain!)

My son sent this cute recipe to me the other day from something he had seen on TikTok. It looked like so much fun and I thought it looked perfect to make to welcome Fall. They are so easy to make, too! Would be a great idea to make with kids too. Especially to encourage them to eat their vegetables (if they are anything like I once was (or still am 🤣)

Everyone has their own recipe of what they like to use for their stuffed peppers so for this fun dinner recipe I would just recommend to use your own and be creative with the “pumpkin” faces. Many thanks to my husband and his incredible carving skills!

This recipe is what I used to make the stuffed peppers but you really can improvise. Have fun! Oh and…Welcome Fall! We’ve missed you! 🍁

Stuffed “Pumpkin” Peppers Recipe 🎃

Ingredients

3-5 Orange Bell Peppers

1 package of Ground Turkey (Ground Beef works well too)

1 Bottle of Tomato Sauce

1 Bag of Minute Rice

1 8oz package of shredded cheese (we used Sharp White Cheddar but you can use whatever is your favorite!)

Salt and Pepper (or your favorite seasonings)

Directions

Preheat your oven to 350 degrees.

Cut the tops off of the bell peppers (make sure to save those, set aside!) and clean/scoop out the inside of the peppers.

Place the peppers in boiling water for 2-3 minutes to soften. Remove and set aside.

Cool the ground turkey in a skillet until done.

Boil the bag of rice according to package instructions.

Mix the cooked rice into the cooked turkey. Add the pasta sauce. Combine thoroughly. Add Salt and pepper or whatever seasonings you prefer.

Place your peppers on a baking sheet and stuff each with the meat mixture. Sprinkle with cheese.

Bake for 25-30 minutes.

Remove from the oven. Add the top of the peppers – will look like pumpkins. So cute!

Enjoy your Stuffed “Pumpkin” Peppers 🎃

Lasagna – A Family Favorite

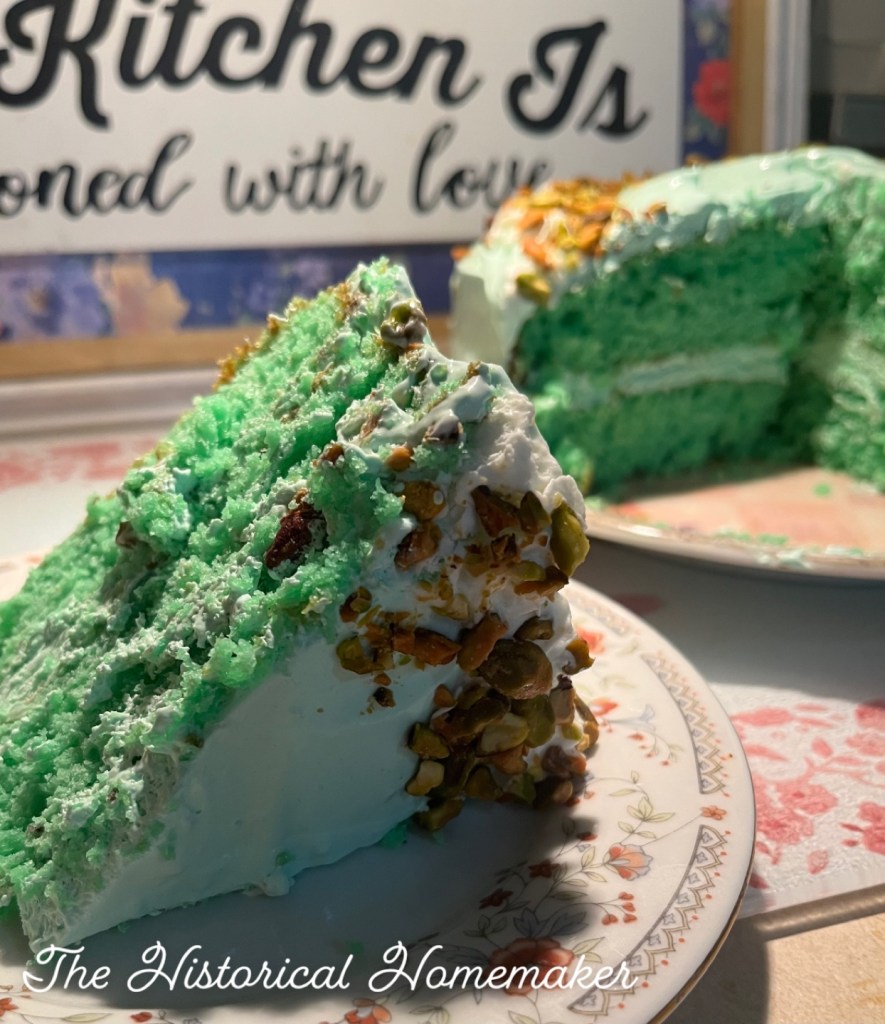
It’s always wonderful having family together – especially for a meal. For dinner last night, I made a family favorite: Homemade Lasagna along with Pistachio Cake w/Pistachio Frosting for dessert ❤️

Growing up in an Italian family, we had some sort of pasta with nearly every meal. Especially when visiting my grandmother Marini. She made the best homemade ravioli, chicken cacciatore and of course…lasagna. Dessert was often her homemade Almond Biscotti served with fresh coffee.

As a child, I would carefully watch as my mother made her homemade meatballs and I couldn’t wait to taste them. When she made lasagna it was always for special occasions like a birthday or Christmas.

One year, my sister made pans of lasagna to give away as Christmas gifts. Italian food, red wine and laughter were always a part of our home. I miss these days so very much.

I’m thankful for the memories, traditions and for the times of being with my Italian grandmother and mother in the kitchen. They didn’t follow recipes but instead used a “pinch of this” and a “pinch of that” and everything came out perfect.

I get asked for my lasagna recipe and I really don’t have one. It’s all banked in my memory of how my mother, sister and grandmother made it – so therefore it’s what I do as well. But I wanted to share with you…directly from my memory bank…so that you can have this deliciousness on your table for dinner too I’m with your family and friends.

Mangia! Viva Italia! 🇮🇹❤️

Homemade Lasagna

(For 10-15 hungry people!)

Ingredients

2 Boxes of Lasagna Noodles

1 Large Bottle of Pasta Sauce (I airways use Ragu – it’s a tradition and favorite)

2 -3 pounds of Ground Beef

32 oz and 15 oz Ricotta Cheese

1 1/2 Cups shredded Parmesan Cheese

4 Cups Shredded Mozzarella Cheese (reserve a cup and set aside)

3 Eggs

Your favorite Italian Seasonings

Directions

Preheat your oven to 350 Degrees.

In a large pot, boil the water for your lasagna noodles. Add a touch of olive oil (to prevent the noodles from sticking together) along with a pinch of salt. Cook according to package instructions and constantly stir the noodles. When done, drain the water and set aside.

Cook the ground beef in a skillet. Add your favorite seasonings. I always use salt, pepper and minced onions. When cooked thoroughly, drain the grease from the skillet and add the pasta sauce, stir and combine really well. Put on a low simmer.

For the cheese mixture, add the Ricotta, Parmesan, Mozzarella into a large bowl. Add the eggs and your favorite seasonings. Mix and combine really well.

Start the layering.

In a very large lasagna pan, begin by adding sauce to the bottom of the pan and spread evenly.

Add a layer of lasagna noodles lengthwise across.

Add the meat/pasta sauce mixture evenly across.

Add lasagna noodles lengthwise across.

Add the cheese mixture and spread evenly.

Continue to layer with lasagna noodles, meat/pasta sauce mixture and cheese mixture. Continue layering – last layer is lasagna noodles lengthwise across.

Add pasta sauce to the top layer.

Put foil over the top of the pan.

Bake for 45-50 minutes.

Bake for 35 minutes. Remove the pan from the oven, remove the foil and sprinkle a cup of mozzarella cheese over the top. Bake uncovered for 15 minutes.

Remove from the oven.

Let the lasagna sit for about 10-15 minutes so that it will settle and will be easy to cut into.

Enjoy!

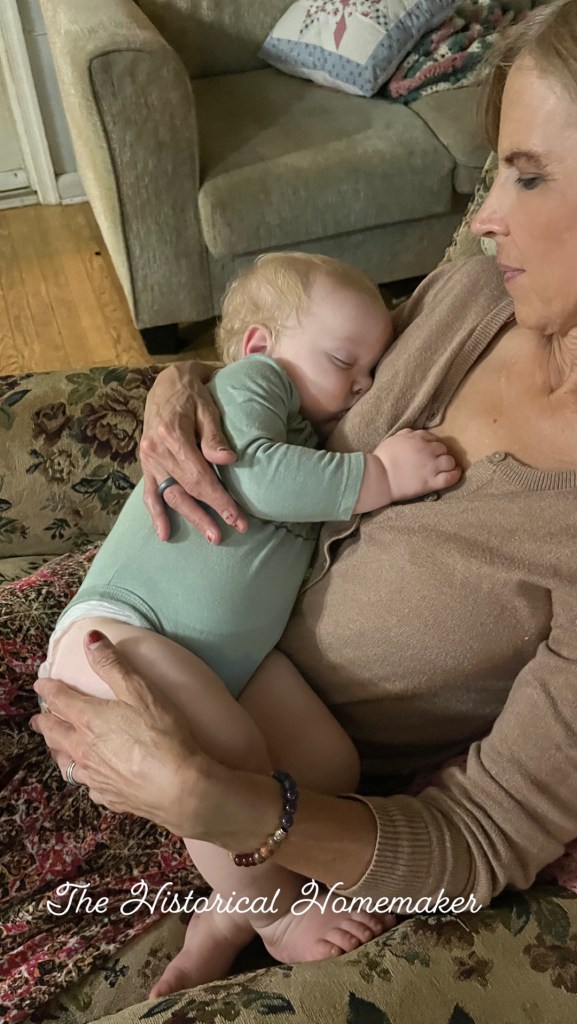
One of the best parts of having the family together is when you are so full you just fall asleep in each others arms ❤️

With my little grandson, Odin ❤️

Southern Tea Cake Cookies

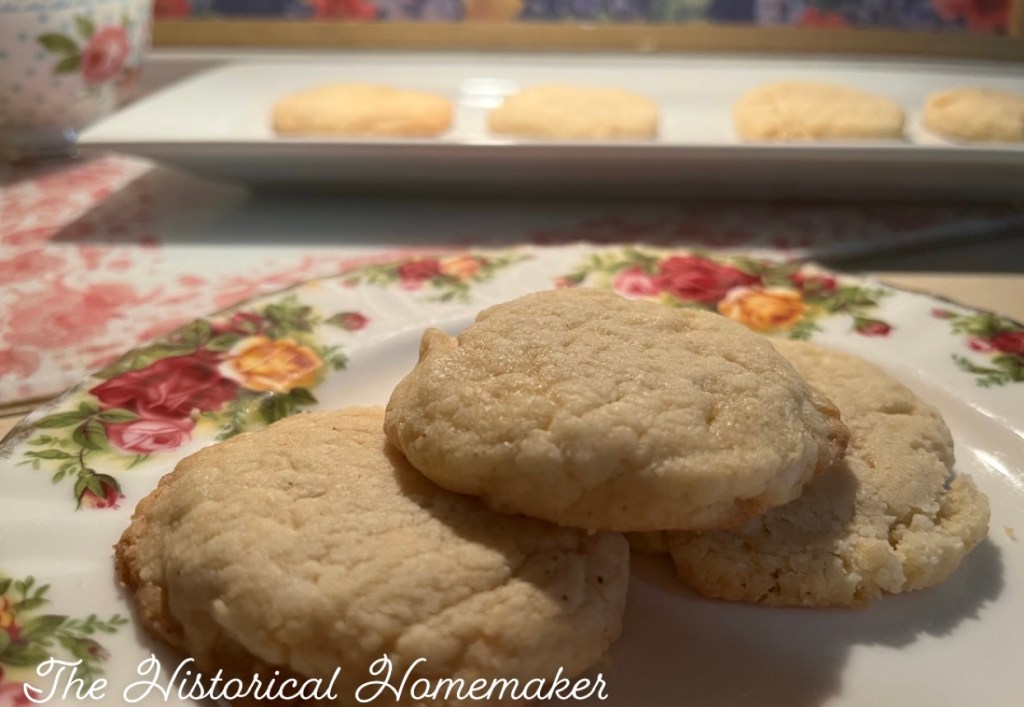
It’s a perfect (and finally rainy and cool!) day to make cookies in the kitchen today. I recently stumbled across a recipe for Southern Tea Cake Cookies and I couldn’t believe how simple they were to make – which is always my favorite: simple ingredients and easy to make.

They are soft, buttery and delicious with a hint of nutmeg. Melt in your mouth type of cookies 😋 They remind me of childhood while standing next to my grandmother as she made cookies. Carefully watching and salivating with anticipation of the warm, homemade deliciousness that would soon come out of the oven.

Tea Cake Cookies most likely evolved from the recipe for English Tea Cakes and gained popularity in colonial America in the 1700’s. The cakes were served at the homes of wealthy planters for afternoon tea (or “high tea”) and consisted of currants or other dried fruits.

It’s wasn’t very long before the popular tea cakes made their way into Southern homes and the recipe changed to make them much simpler and affordable for poor Southern families. The basic ingredients were what most had in their kitchen already: flour, sugar…butter…eggs.

They are a perfect cookie to make for any occasion. For Christmas, just add some icing and color…sprinkles…and would make the perfect Christmas cookie! Or if you want to be fancy, make them to impress your friends and gather for afternoon tea with tea cake cookies and small sandwiches.

On a wet, rainy day like today? It’s the perfect comfort food that brings me back to childhood. So I think I will just binge watch a favorite show and eat a few cookies with a large glass of milk.

Life is good 👍

Southern Tea Cake Cookies

Ingredients

1 1/2 cups of all-purpose flour

1/4 teaspoon salt

1/4 teaspoon baking soda

1/4 teaspoon nutmeg

1/2 cup (one stick) unsalted butter, softened at room temperature

3/4 cup granulated sugar

One large egg, room temperature

2 teaspoons vanilla extract

Directions

Preheat your oven to 350 degrees.

In a medium bowl, whisk together the flour, salt, baking soda and nutmeg. Set aside.

In a large bowl, mix together butter and sugar with a hand held mixer (about 4-5 minutes) until creamy.

Add the egg and vanilla to the mixture.

Slowly add the flour mixture to the butter mixture and mix well with a wooden spoon.

Cover and refrigerate the cookie dough for at least 30 minutes.

Using a small cookie scooper, scoop the dough and using your hands to roll the dough into a ball.

Place the cookie dough balls onto a lined cookie sheet. Use a cup, glass…press…anything that you have handy to flatten the cookie balls.

Bake for about 10-12 minutes until the edges are brown.

Remove from the oven. Cool for a few minutes before removing from the cookie sheet so they will set properly. Enjoy! ❤️

National Teddy Bear Day

Today is National Teddy Bear Day 🧸

What is the story behind the Teddy Bear? And how did he/she get their name?

President Theodore Roosevelt was an avid hunter. In 1902, he was out hunting and came across a bear cub and decided to not shoot it. Clifford Berryman published a cartoon of the event in The Washington Post on November 16th, 1902 and the cartoon became an instant classic.

A New York store owner named Morris Michtom saw the cartoon and he created a new toy and even had a name in mind. Mr. Michtom wrote a letter to President Roosevelt to ask permission to name the new toy a “Teddy Bear.”

Seems as if every child had some type of teddy bear growing up – including me.

For my very first Christmas in 1970, my sister gave me the most precious gift: my teddy bear. When I was old enough to name him, I called him “Teddy.” I know…so original, right?

Teddy has been with me for over half a century now. Most of his original fur is gone from the times I tried to bathe him as a child. His arms are gone from when my childhood dog, Rags, decided to chew on him. His eyes are missing. He actually looks pretty scary. But to me? He’s beautiful. He still smells like my childhood. I slept with him throughout childhood. I cried to him when things were painful. I dressed him up. There were times in my childhood that I truly believed he was the only one who understood me.

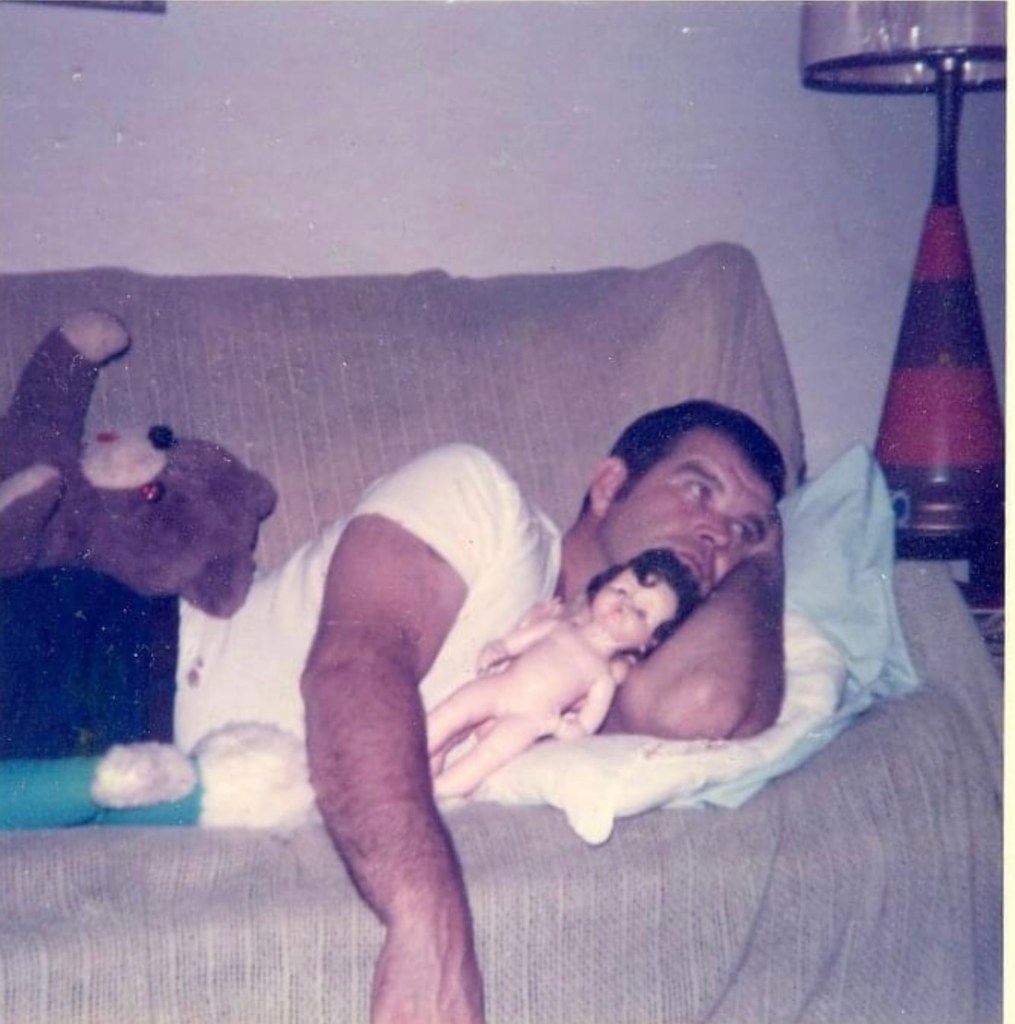
Teddy (and others) piled up on my dad as he tried to nap

Today, he proudly sits in a special place and he’s still with me. All I have to do is hold him and I’m at peace again. So many years…he’s been a most treasured friend.

Lastly, I can’t thank my sister enough for the best gift I’ve ever received in life. He has stood the test of time and is ageless and he’s still loved so very much.

My sister and I with Teddy in 1979

“A teddy bear does not depend on mechanics to give him the semblance of life. He is loved – and therefore, he lives.” – Pam Brown

Sarah Polk’s Hickory Nut Cake

Sarah Polk’s Hickory Nut Cake

Ingredients

1 cup (2 sticks) unsalted butter, at room temperature

2 cups granulated sugar

4 large eggs, separated

3 cups all-purpose flour

2 teaspoons baking powder

½ teaspoon salt

1 teaspoon fresh lemon juice

1 cup whole milk or half-and-half

1 cup chopped hickory nuts or pecans (I used pecans since hickory nuts are quite hard to come by!)

½ teaspoon pure almond extract (optional)

½ teaspoon vanilla extract (optional)

Directions

Place a rack in the center of the oven and preheat the oven to 350 degrees.

Grease a Bundt pan.

Place the butter in a large mixing bowl and beat with an electric mixer on medium speed until the butter is creamy – about one minute. Slowly add the sugar and beat on medium speed until light and creamy – about two minutes.

Add the egg yolks, one at a time, beat until combined. Set the bowl aside.

Place the flour, baking powder, and salt in a large mixing bowl and sift to combine everything together evenly. Set the bowl aside.

Place the egg whites in a large mixing bowl and beat on high speed until stiff peaks form – this generally takes about 4 minutes. Set the egg whites aside.

Stir the lemon juice into the milk.

Add the flour mixture and milk mixture to the butter mixture and beat on low speed just enough to combine.

Beat in the hickory nuts (or pecans) and if desired, the almond or vanilla extracts, on low speed until thoroughly combined.

By hand, fold the beaten egg whites into the batter, just until combined.

Pour the batter into the greased pan and place the pan in the oven.

Bake the cake until it is golden brown and begins to pull away from the sides of the pan, for about 55 to 60 minutes. Do the “toothpick check” to confirm that it’s done.

Remove the cake from the oven and cool for at least twenty minutes.

Run a knife around the edges of the pan, give the pan a gentle shake, then place the cake onto a baking rack to cool for about 30 minutes.

Slice and serve. You can serve plain or sprinkle confectioners sugar over the top.

Today in American History…Former First Lady Sarah Polk was Born 🇺🇸

Official White House Painting

Today in American History…Sarah Childress was born on September 4, 1803 to Elizabeth and Joel Childress at their plantation home in Murfreesboro, Tennessee.

Sarah Childress and James Polk were formally introduced by Andrew Jackson – who just so happened to be a close acquaintance of Sarah Childress. Legend has it that Andrew Jackson urged James Polk to marry Sarah and referred to her as “wealthy, pretty, ambitious, and intelligent.” The couple were engaged in 1823 and married at her family’s plantation home on January 1, 1824.

Sarah and James Polk around 1846

For the era, Sarah Polk was a well educated woman. She had attended the exclusive Moravians’ Salem Academy in Winston-Salem, NC in 1817 – which was just one of few schools in the US at the time that allowed women to enroll and attend.

Mrs Polk became First Lady when her husband was sworn in on March 4, 1845 as our eleventh US President. Several First Ladies throughout history, including, Mrs Polk, have been very much a strong influence and active behind the scenes when it came to their husband’s political careers. Mrs Polk was one of the first First Ladies to take an active role in her husband’s electoral process and campaign. She was known to be charming, intelligent and a good conversationalist. They had from all accounts a true partnership and he relied on her very much from typing his official correspondence, speaking to world leaders and sharing with her issues pertaining to the government while in office.

She was also very pious and observant of her faith. Mrs Polk was a devout Presbyterian and unlike the previous administration of President John Tyler, Mrs Polk banned dancing, hard liquor and card games at official receptions. Unlike former First Lady Julia Tyler’s entertaining receptions, The Polk’s receptions were very dull and subdued. Some even referred to Mrs Polk as “Sahara Sarah.”

Sarah Polk was the very first First Lady to be photographed at The White House. She is also the first First Lady to have had a picture taken alongside her husband while he was in office.

President and Mrs Polk on the South Portico of The White House. If you look closely, you will see future President James Buchanan on the far left and Dolley Madison second to to right (wearing a turban). (Photo Credit: George Eastman House, 1848)

The Polk’s retired from public office in 1849 and returned to Tennessee. He had the shortest retirement of any former President and passed away on June 15, 1849. According to traditional accounts of the time, his last words were to his wife telling “I love you, Sarah, for all eternity, I love you.”

Sarah Polk passed away in Nashville, Tennessee on August 14, 1891.

Lucy Hayes and Traditional White Cake

Lucy and Rutherford Hayes

Did you know that one of former First Lady Lucy Hayes favorite desserts was a traditional white cake? Here is her own personal recipe (among others!) at Rutherford B. Hayes Presidential Library & Museums:

“There is not to be found a better receipt

for white cake than the following. The cake is mixed contrary to the usual rules of making cake, but it is the best mode of making it fine-grained and delicate.

Ingredients: Whites of six eggs, scant three-quarters of a cupful of butter, one and one-quarter cupfuls of pulverized sugar, two cupfuls of flour, juice of half a lemon, one-quarter of a tea-spoonful of soda.

If soda is used, mix it well with the flour, and pass it through the sieve several times to distribute it equally. Beat the butter to a light cream, and add the flour to it, stirring it in gradually with the ends of the fingers until it is a smooth paste. Beat the whites of the six eggs to a stiff froth, and mix in them the pulverized sugar; now stir the eggs and sugar gradually into the flour and butter, adding also the lemon-juice, and mix it smoothly together with the egg whisk. As soon as it is perfectly smooth, put it into the oven, the heat of which should be rather moderate at first. When done and still hot, spread over it a frosting made with the white of one egg, pulverized sugar and a flavoring of lemon. The frosting is a decided improvement, and, according to the receipt

, only requires a few minutes to prepare.

This cake may be made with one-tea-spoonful of baking-powder, or with prepared flour, or with the one-quarter tea-spoonful of soda and one-half tea-spoonful of cream of tartar, when the essence of lemon should be used instead of the lemon-juice.”

I decided to do a modern version of the traditional white cake in the kitchen tonight. This is a recipe adapted from Sally’s Baking Addiction that I always used and it literally never fails me. It always comes out incredibly fluffy and moist.

White Cake

Ingredients

2 and 1/2 cups cake flour (spoon & leveled)

2 teaspoons baking powder

1/2 teaspoon baking soda

1 teaspoon salt

3 1/4 cup (1.5 sticks) of unsalted butter, softened to room temperature

1 and 3/4 cups granulated sugar

5 large egg whites, at room at room temperature

1/2 cup sour cream, at room temperature

1 Tablespoon pure vanilla extract

1 cup whole milk, at room temperature

Directions

Preheat the oven to 350 degrees.

Grease two 9-inch round cake pans, line with parchment paper rounds, then grease the parchment paper.

Parchment paper helps the cakes seamlessly release from the pans.

Whisk the cake flour, baking powder, baking soda, and salt together. Set aside.

Using a handheld or stand mixer fitted with a whisk attachment, beat the butter on high speed until smooth and creamy – about 1 minute. Add the sugar and beat on high speed for 2 minutes until creamed together. Scrape down the sides and up the bottom of the bowl with a rubber spatula as needed. Add 110 the egg whites. Beat on high speed until combined, about 2 minutes. Then beat in the sour cream and vanilla extract. Scrape down the sides and up the bottom of the bowl as needed.

With the mixer on low speed add the dry ingredients until just incorporated. With the mixer still running on low, slowly pour in the milk until combined. Do not overmix. You may need to whisk it all by hand to make sure there are no lumps at the bottom of the bowl. The batter will be slightly thick.

Pour batter evenly into cake pans. Bake for around 24-25 minutes or until the cakes are baked through. To test for doneness, insert a toothpick into the center of the cake. If it comes out clean, it is done. Allow cakes to cool completely in the pans set on a wire rack. The cakes must be completely cool before frosting and assembling.

Cream Cheese Frosting

I always use the recipe from Sugar Spun Run for the best Cream Cheese Frosting. I’ve tasted a few in my life but this is the ultimate best!

Ingredients

½ cup (1 stick) unsalted butter, softened

8 oz. cream cheese softened (brick-style, not spreadable)

1 teaspoon vanilla extract

¼ teaspoon salt

4 cups powdered sugar

Directions

Combine butter and cream cheese in the bowl of a stand mixer (or you may use an electric mixer) and beat until creamy, well-combined, and lump-free.

Add vanilla extract and salt and stir well to combine.

With mixer on low, gradually add powdered sugar until completely combined.

Use to frost completely cooled cake or cupcakes.